So, you’re ready to sell your iPhone – that’s great news! But before you do anything else, there’s one super important step you can't skip: turning off Find My iPhone. It's the key to making sure the sale is smooth and secure, and it saves you and the new owner from a big headache.
Forgetting this step can make the phone completely useless to them. It’s a tiny action with massive consequences.
Why Turning Off ‘Find My’ Is a Must
We meet lots of friendly people from around Redhill, Merstham, and other local towns who think wiping their iPhone is enough. It’s an easy mistake to make, but it creates a serious problem called Activation Lock.
Activation Lock is a brilliant security feature from Apple. It’s designed to stop anyone else from using your iPhone if it gets lost or stolen. When ‘Find My’ is on, your phone is securely linked to your Apple ID on Apple's servers. This is amazing for your personal security, but it turns into a real roadblock when you want to sell the device.
The Activation Lock Problem in Practice
Here’s a real-life example we saw recently. A customer from Reigate sold their iPhone after doing a factory reset, thinking they'd done everything right. The problem? They hadn’t turned off ‘Find My’ first.
When the new owner turned the phone on, they were met with a screen asking for the previous owner’s Apple ID and password. The phone was basically a very expensive paperweight. It caused a lot of unnecessary stress and delays until we could help the original owner remove the device from their account remotely.
The key takeaway is this: wiping your phone’s data doesn't remove it from your Apple account. Only by turning off ‘Find My’ can you break that link and disable Activation Lock, making the phone truly ready for someone new.
Your Most Important Security Feature
While it can be a hurdle when selling, ‘Find My’ is absolutely vital for protecting your device against theft. In the UK, hundreds of thousands of iPhones are reported lost or stolen every year. A phone with ‘Find My’ switched off is a much easier target for thieves, as they can simply wipe it and sell it on. This makes the feature a powerful deterrent.
Find My iPhone Status Before Selling Your Device
Here’s a quick summary of what happens if 'Find My' is left on versus turned off when you sell your iPhone.
Ultimately, a successful sale depends on this one simple step.
For a hassle-free sale, switching this feature off is a must. It’s the final tick in the box that keeps your data safe and makes the device fully accessible for its next owner. Once you’ve prepped your device properly, getting a great price is the easy part. You can request a free, no-obligation quote using our simple sales form.
Turning Off Find My iPhone Directly On Your Device
The most straightforward way to switch off Find My iPhone is right on the device itself. If you're in Redhill, Horley, or anywhere nearby and have your iPhone in your hand, this is the best method for you. It genuinely only takes a minute and is a crucial step to get your phone ready for its new life.
Don't worry if you're not a tech expert—Apple has made this process simple but secure. All you'll need is your iPhone and your Apple ID password.
Navigating to the Right Setting
First up, open the Settings app on your iPhone. It’s that familiar grey gear icon. Right at the top, you’ll see your name and profile picture; tap on that to get into your Apple ID settings.
From there, just scroll down a little until you spot Find My. Give that a tap. On the next screen, you’ll see ‘Find My iPhone’ at the top, which should show as being ‘On’. Tap this one more time to get to the final screen.
Getting this setting right is the key to a smooth sale, as this flowchart shows.
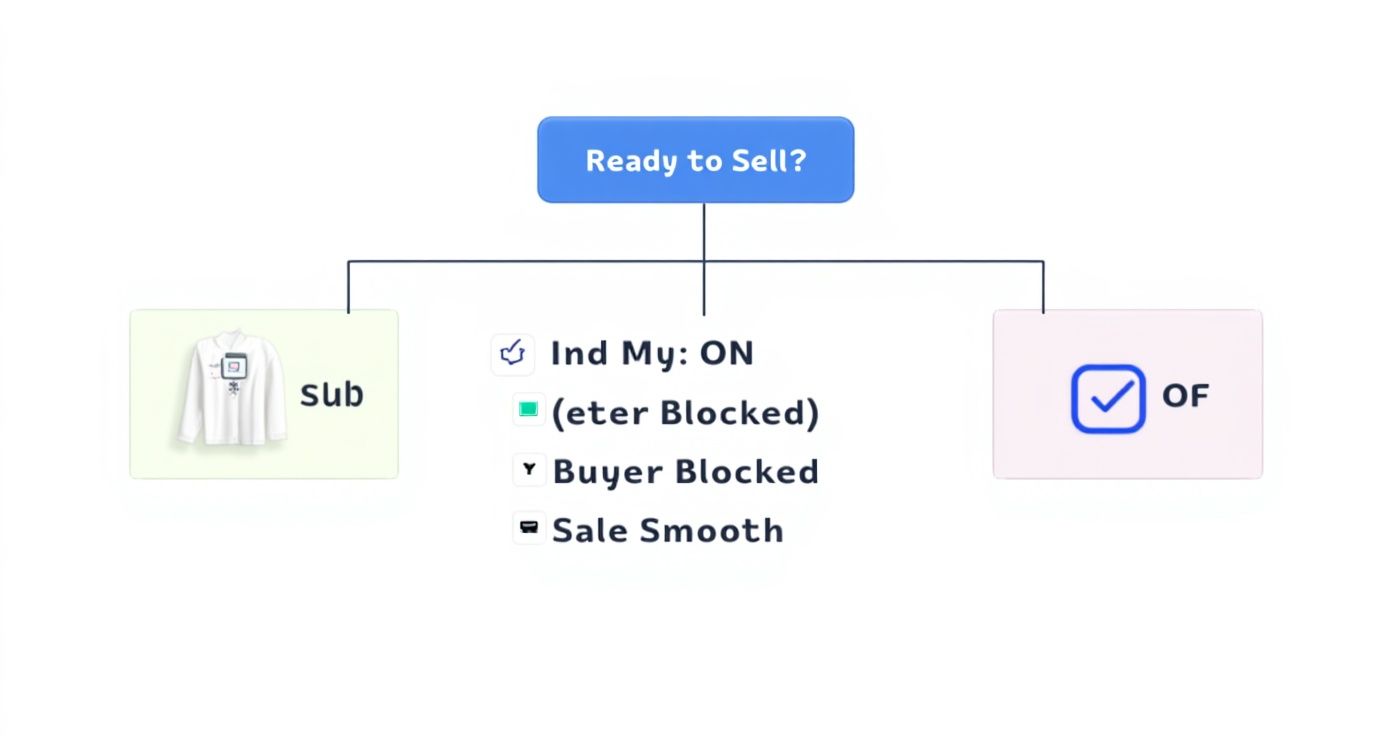
As you can see, leaving 'Find My' active is a dead end for the sale. Ticking this box makes sure the new owner can set it up without a hitch.
The Final Step: Password Confirmation
You should now be looking at a green toggle switch next to ‘Find My iPhone’. Tapping this is the action that switches it off, but it also triggers an essential security check. Your iPhone will ask for your Apple ID password.
This isn't just an extra step; it's a critical security feature. Disabling "Find My iPhone" requires your password to prevent a thief from simply turning off the tracking and wiping your phone. This password check is directly tied to the Activation Lock system, making it impossible for someone else to prep the phone for resale. You can discover more insights about this security feature and why it's so important.
A Quick Note on Older iOS Versions: If your iPhone is running an older version of iOS (before iOS 13), the path is a little different. You'll need to go to Settings > [Your Name] > iCloud > Find My iPhone. The final bit—toggling it off and entering your password—is exactly the same.
Once you’ve put in your password and tapped ‘Turn Off’, the toggle will go grey. That's your confirmation that Find My iPhone is officially disabled. Your device is now free from Activation Lock and one step closer to being ready for a new home.
With that sorted, you can move on to the final steps of preparing your device. If you're curious about what it's worth, you can get a fast, no-obligation quote right on our sales form.
How to Disable Find My iPhone Remotely with iCloud
It’s a situation we see all the time here at our shop in Redhill: the deal is done, you’ve sold your old iPhone, and then that sinking feeling hits. You completely forgot to turn off Find My iPhone.
Don't panic! This is a really common mistake, and thankfully, you don't need the phone in your hand to fix it. There's a simple solution you can handle from any computer or web browser.
You can remotely remove the device from your account, which is the key to disabling Activation Lock for its new owner. This ensures the person who bought your phone, whether they're just down the road in Merstham or miles away, can set it up without any fuss. All you need are your Apple ID details and an internet connection.
Accessing Your Devices Through iCloud
First things first, grab a computer or another device, open a web browser, and go to iCloud.com. You'll need to sign in with the same Apple ID and password that you were using on the iPhone you just sold.
Once you're in, you'll see a dashboard with various app icons. Look for the green radar icon labelled Find Devices and give that a click. This will bring up a map showing the last known location of all the Apple devices linked to your account.
Removing the Correct Device
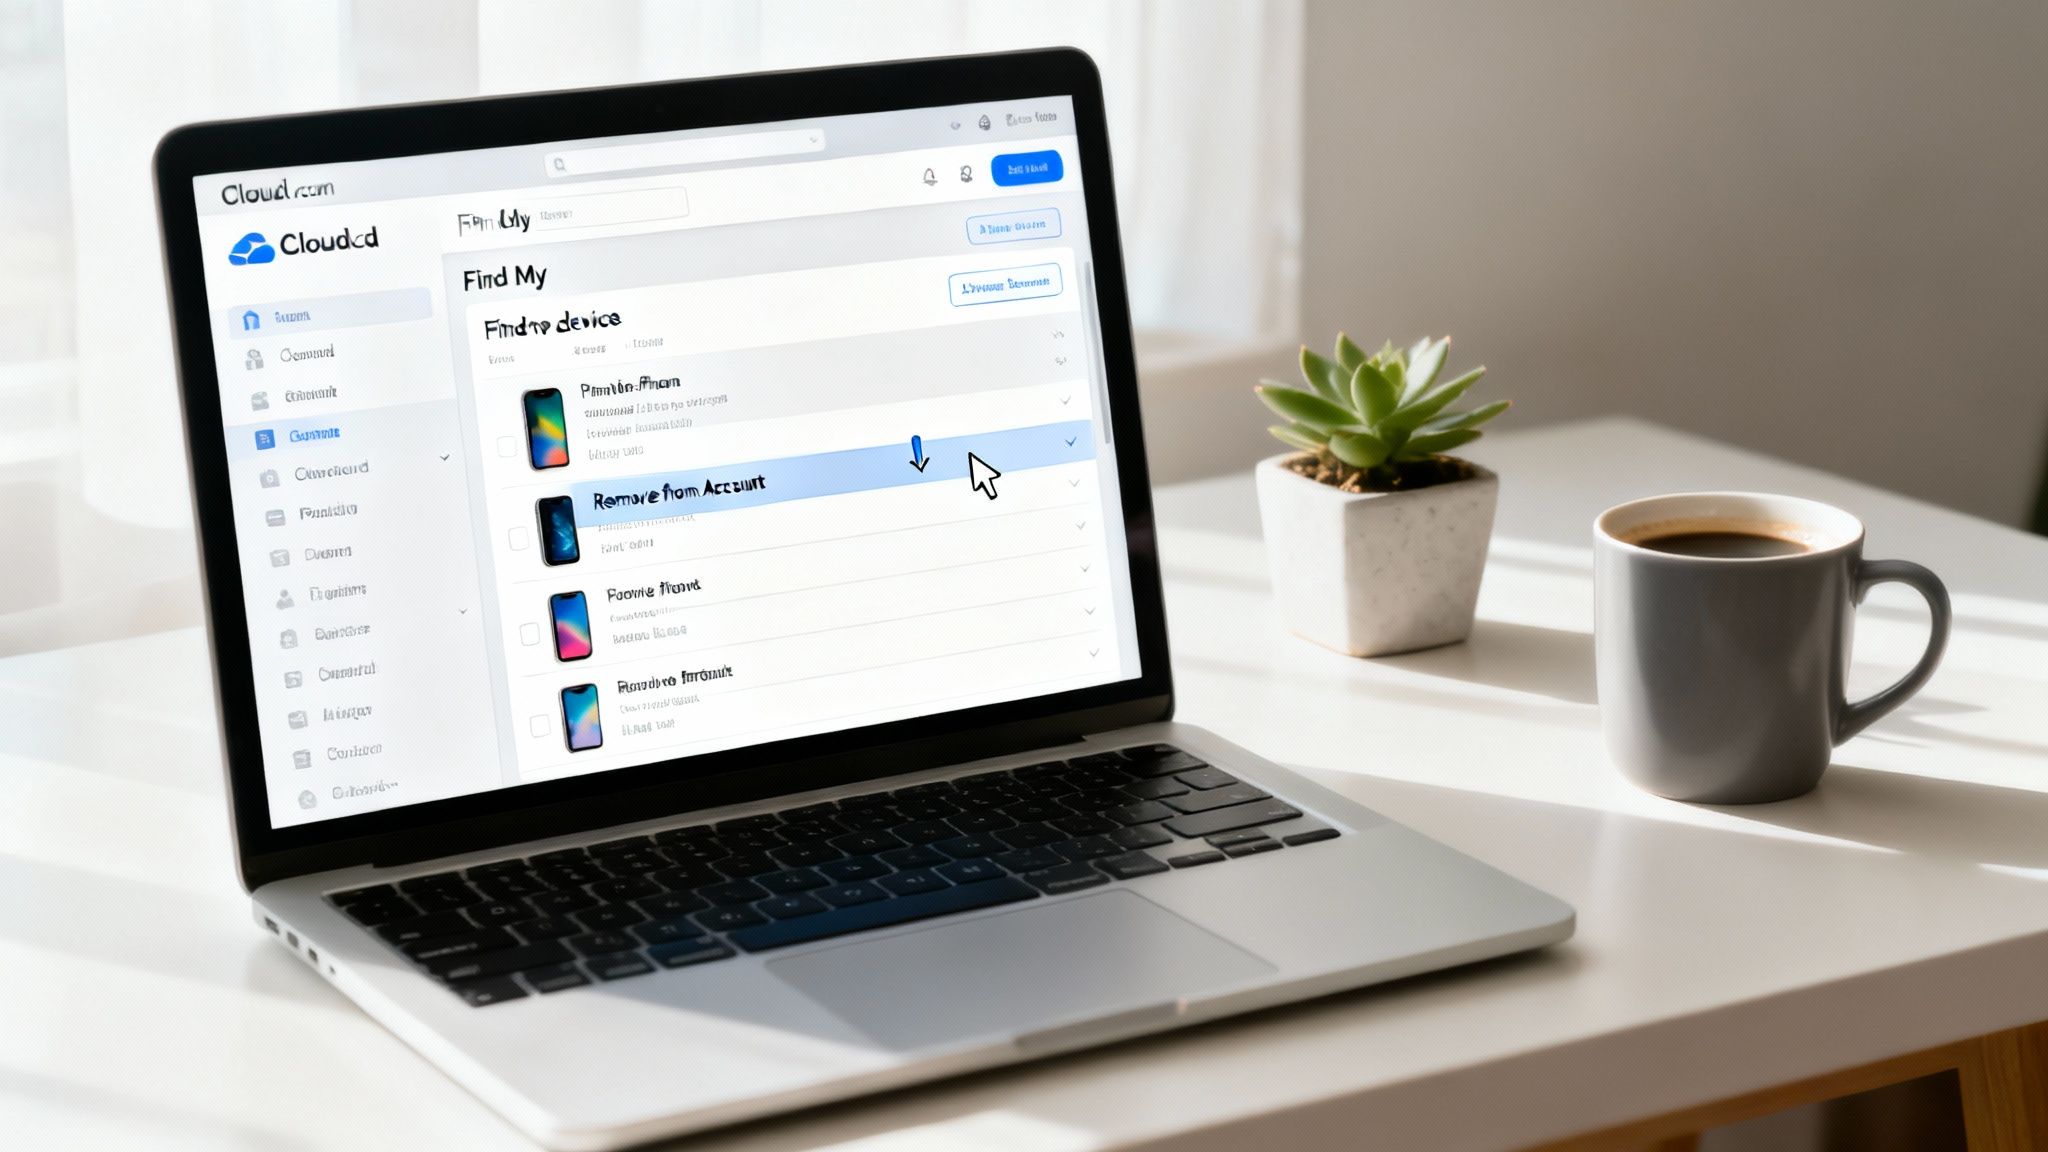
Now, look at the top of the screen and you’ll see an All Devices dropdown menu. Click on that to see a complete list of everything connected to your Apple ID. It’s really important here to be careful and select the exact iPhone you no longer own.
After picking the right device, a new window will pop up with several options for that phone. You'll spot choices like 'Play Sound', 'Lost Mode', and 'Erase iPhone'. While hitting 'Erase iPhone' might seem like the logical next step, it's not the final one you need.
It is absolutely critical to understand the difference between erasing and removing. Erase iPhone wipes the data from the device, but it does not turn off Activation Lock. The phone will still be firmly linked to your account.
The final, essential action is to click Remove from Account. This is the magic button that officially severs the connection between the iPhone and your Apple ID, deactivating Activation Lock and freeing it up for the new owner. Once you confirm, you’re all done. Your old device is ready for its new home, and you can rest easy knowing you've avoided a major headache for the buyer.
Forgetting a step like this is easy to do, but now you know the fix. If you're preparing another device for sale and want a simple, secure process, get in touch for a quick quote via our sales form.
What To Do When You Forget Your Apple ID Password
We’ve all been there. You’re ready to sell your iPhone, you go to turn off Find My, and the password box appears. Your mind goes completely blank. It’s a frustrating moment, but it’s a really common hiccup we see from customers across Redhill and the surrounding towns. Don't worry, you can get it sorted without any stress.
The great news is that Apple has official, secure ways to get you back into your account. You don't need to pay for sketchy third-party services that promise a quick fix. We strongly advise against them, as they can put your personal data at risk. The only goal here is to get you back into your account legitimately so you can prepare your iPhone for its next owner.
Using Apple's Official Recovery Tools
Your first stop should always be Apple's own password recovery page, which they call iForgot. Just pop iforgot.apple.com into any web browser to get started.
This service is built to securely check it’s really you before letting you reset anything. You'll usually need to start by entering the email address or phone number linked to your Apple ID. From there, Apple will guide you through the process, which usually follows one of two paths:
- Email Authentication: Apple will send a password reset link to the main or rescue email address you have on file.
- Security Questions: If you set these up a long time ago, you might be asked to answer a few questions to prove you own the account.
Resetting Your Password on a Trusted Device
Got another Apple device, like an iPad or a Mac, that’s already signed into your iCloud account? If so, the process can be even easier. You can often use that trusted device to reset your password directly, completely skipping the need for emails or security questions.
Using a trusted device is often the quickest way back in. Apple's system already recognises the device as yours, which adds a layer of security that makes the whole recovery process much smoother.
Whichever method you use, the most important thing is to stick to Apple's official channels. They are specifically designed to protect you and your data. Once you've successfully set a new password, you can jump back into your iPhone’s settings, turn off Find My iPhone, and finish the last few steps before selling it.
After regaining access and disabling Find My, your device is officially ready for a new life. If you're looking for a great price and a hassle-free sale, you can get a quick, no-obligation quote right now on our sales form.
Your Final Checklist for Selling an iPhone
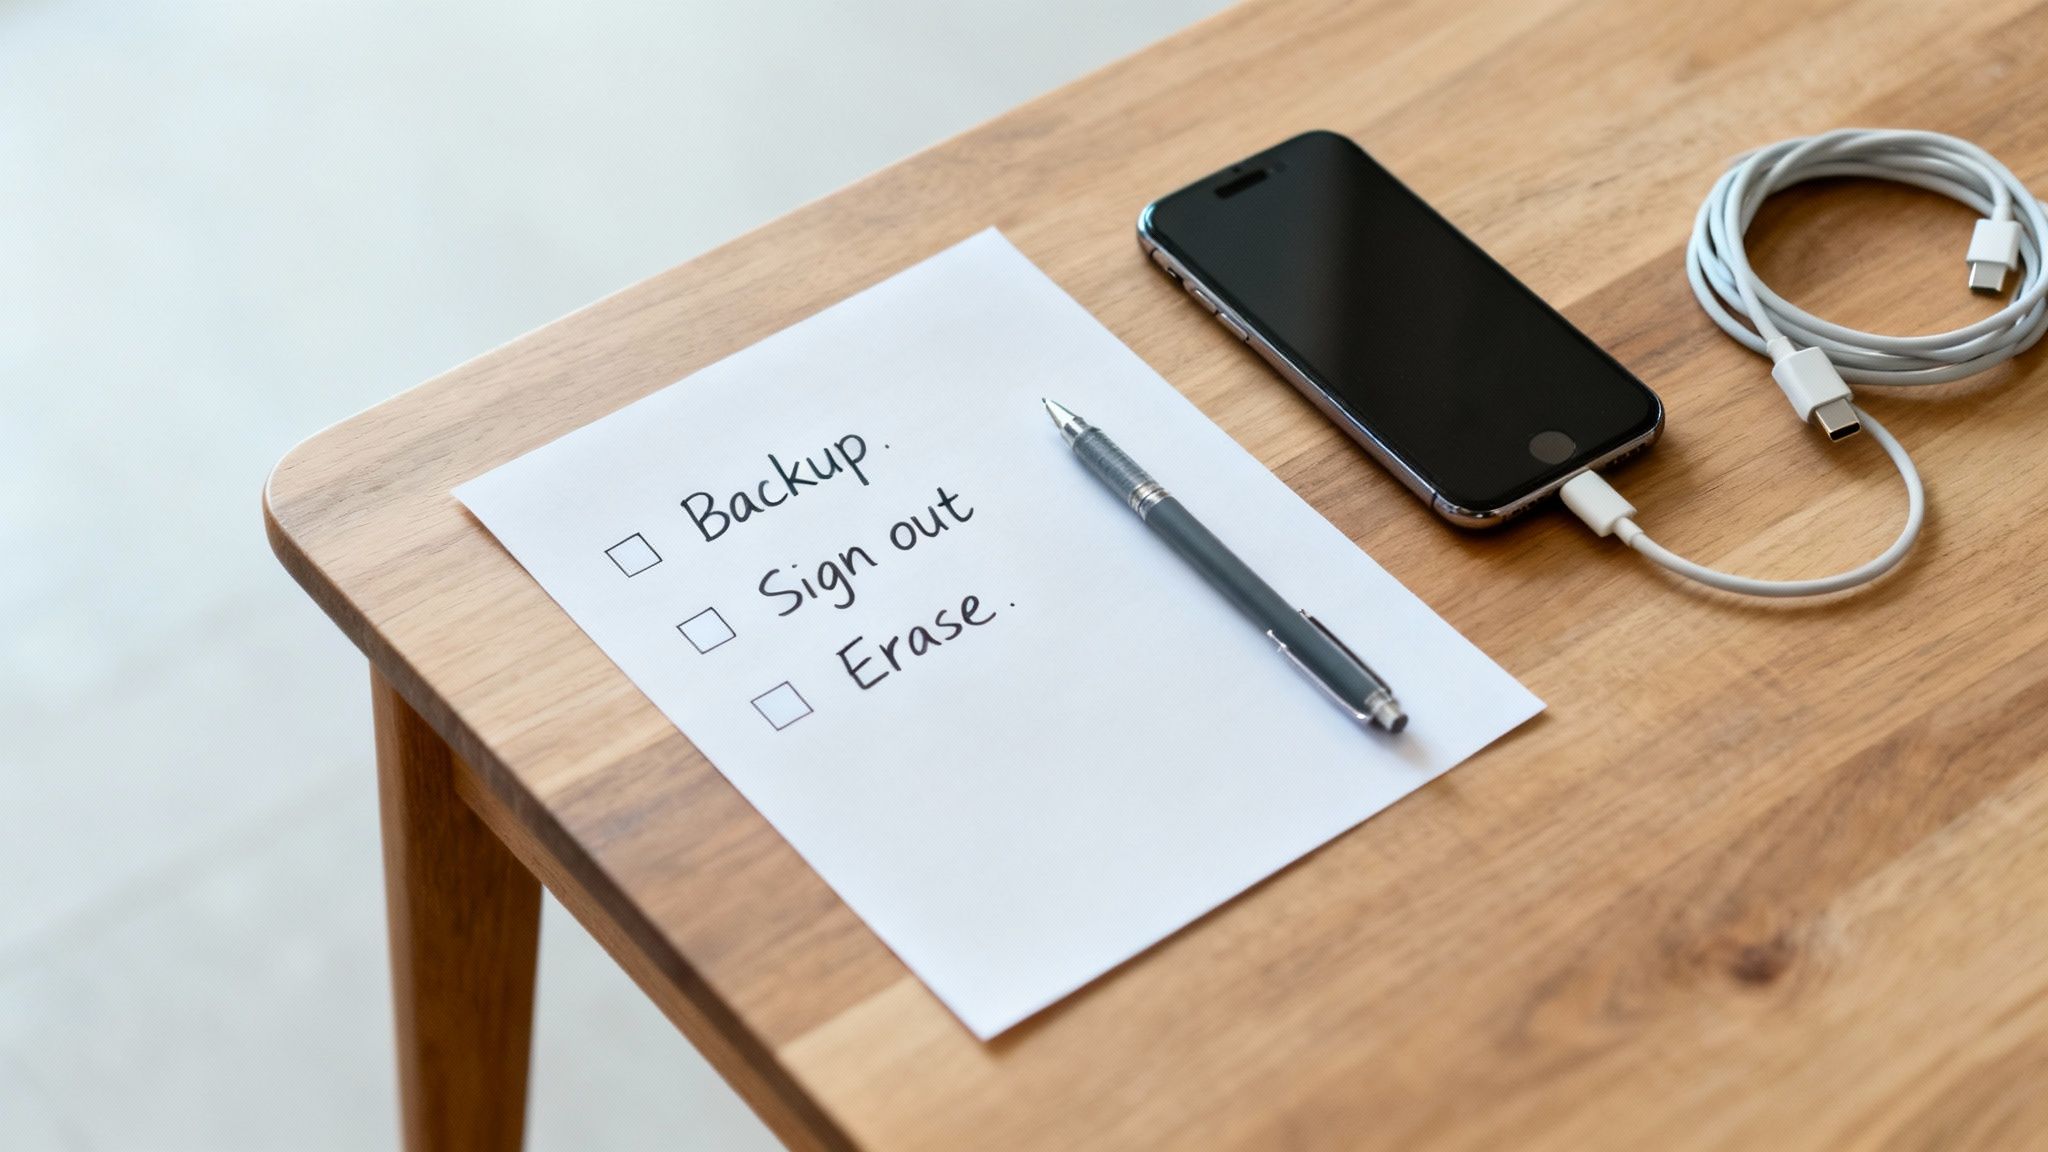
Alright, so you’ve managed to turn off Find My iPhone. That’s a huge step, but don’t celebrate just yet! To make sure the handover is secure and seamless, there are a few final, but absolutely crucial, tasks to get done.
Think of it as a pre-sale check-up for your iPhone. It’s all about making sure your personal data is safe and the phone is perfectly prepped for its new owner. Getting these steps sorted before you bring the device to our Redhill shop or use our online form makes everything quicker and safer for both of us.
Secure Your Data with a Full Backup
First things first: before you delete anything, you need to save everything you want to keep. Trust me, the sinking feeling of losing years of photos and messages is something you want to avoid, and it’s easily done with a quick backup.
You’ve got two great options here:
- iCloud Backup: This is usually the simplest way. Just connect to Wi-Fi, go to Settings > [Your Name] > iCloud > iCloud Backup, and tap Back Up Now. Make sure you let it finish completely before you move on.
- Computer Backup: If you prefer a local copy, plug your iPhone into a Mac or PC. On a Mac, you’ll use Finder, and on a PC, you’ll need iTunes. Just select your device and tell it to back up to the computer.
Whichever method you pick, a complete backup gives you total peace of mind. All your memories are tucked away safely, ready for your new phone.
Sign Out of Everything
With your data securely backed up, it's time to cut all digital ties to the old iPhone. This means signing out of your Apple ID, which covers everything from iCloud to the App Store.
Go back into Settings and tap your name right at the top. Scroll all the way down to the bottom and hit Sign Out. You'll need to enter your Apple ID password to disable Find My (if it's still on), and it'll ask if you want to keep a copy of data on the phone. Since you're wiping it clean in a minute, there's no need.
Erase All Content and Settings
This is the grand finale for your data on this device. A full factory reset will wipe every last bit of your information, apps, and settings, taking the iPhone right back to how it was out of the box.
To do this, go to Settings > General > Transfer or Reset iPhone. Then, select Erase All Content and Settings. You might be asked for your passcode or Apple ID password one last time for confirmation.
Once you’ve confirmed, the iPhone will start the erasure process, which usually takes a few minutes.
When it’s all done, the iPhone will restart to the friendly "Hello" screen, just like a brand new one. Stop right there! Don't set it up again. Your work is finished – the phone is now completely clean and ready for its next adventure.
Following this simple checklist guarantees a clean break. It protects your sensitive info (something we all care about, especially with things like learning how to remove your personal information from Spokeo becoming more common) and gets the phone ready for a new user without any hassle. Once you're done, you can get a fast, fair quote by filling out our secure sales form.
Got Questions About Turning Off Find My iPhone? We've Got Answers
Here at our Redhill store, we get asked about turning off Find My iPhone all the time. It can feel a bit tricky, especially with all the confusing advice out there. Let's clear things up and answer the most common questions we hear.
Getting this step right is the final piece of the puzzle before you can sell your device. It makes for a seamless handover and keeps both you and the new owner protected.
Does Erasing My iPhone Automatically Turn Off Find My iPhone?
This is probably the biggest myth out there, and the answer is a simple, firm no. Choosing 'Erase All Content and Settings' does exactly what it says—it wipes your personal data like photos, apps, and messages.
But it does absolutely nothing to the Activation Lock. On Apple's servers, that phone is still very much linked to your Apple ID. You have to go into your settings and switch the feature off before you erase anything. If you forget, you can still remove it from your account afterwards on iCloud.com. If you skip this, the new owner will be stuck at the Activation Lock screen, unable to use their new phone.
Can I Turn Off Find My iPhone Without an Internet Connection?
Unfortunately, you can't. To turn off Find My iPhone, your device has to talk to Apple's servers to confirm your password and update its status. It's a security step that can't be skipped.
Your iPhone needs to be online, either through Wi-Fi or mobile data, for the change to be registered and for Activation Lock to be properly disabled.
Think of it like this: you can't close a bank account by just deleting the banking app. You have to actually contact the bank to make it official. It's the same idea here—your phone needs to communicate with Apple's main system.
I Bought a Second-Hand Phone and It’s Asking for the Previous Owner's Details
Ah, the dreaded Activation Lock. If you're seeing a screen asking for a previous owner's Apple ID, it means the seller forgot to turn off Find My iPhone before passing it on to you.
Sadly, there's absolutely no way for you to bypass this on your own. Your only option is to get in touch with the seller and ask them to remove the device from their iCloud account remotely. They can do this by logging into iCloud.com, finding the device in their list, and clicking 'Remove from Account'.
If you can't reach them, the phone is essentially unusable. This is exactly the kind of headache we help people in places like Merstham and Redhill avoid. At EXE, we guide every single seller through the correct process to make sure every device we buy is properly prepared and ready for its new home.
At EXE, we make the whole process simple and secure. Once your device is ready, you can get a fast, fair, and no-obligation quote by filling out our easy sales form.


