
If you're ready to completely wipe your iPhone, the process is pretty straightforward. It boils down to backing up your data, signing out of your Apple ID, and then using the 'Erase All Content and Settings' feature in the Settings app. Following these steps is the only surefire way to permanently delete your personal information and turn off security features like Activation Lock, making the phone safe to sell or pass on.
Why You Must Securely Wipe Your iPhone

Before we jump into the "how," let's quickly cover the "why." Getting your head around how to totally wipe an iPhone is essential for protecting your personal data and understanding your digital footprint. Your phone isn't just a gadget; it’s a little black box containing everything from your private messages and photos to banking details and passwords.
Just deleting a few apps or photos isn't nearly enough. If you hand over your old device without a proper, deep clean, you're taking a massive security risk. At best, the new owner is locked out because it's still linked to your accounts. At worst, you could be exposed to identity theft. Think of it as a final, crucial step to protect your digital life.
The Real Risks of an Improper Wipe
If you don't erase your iPhone correctly, the consequences can be genuinely serious. Imagine a complete stranger getting their hands on your:
- Financial Information: Think of all the stored credit card numbers in Safari or logins for your banking apps.
- Personal Communications: Your private iMessages, WhatsApp conversations, and personal emails.
- Location History: All that data in Maps showing your home, your office, and everywhere you go.
- Private Photos and Videos: Memories that were never meant for anyone else's eyes.
Wiping your iPhone correctly isn't just about making space; it's about destroying the digital keys to your personal life. The factory reset process is designed to make your data unrecoverable, ensuring a clean break between you and your old device.
With smartphone usage in the UK hitting a massive 93% penetration in 2024, people are becoming much more aware of data security. Apple’s official method—found under Settings > General > Transfer or Reset iPhone > Erase All Content and Settings—is designed to securely delete everything. As you can find out from mobile usage insights on Uswitch.com, this built-in tool is your strongest defence against your personal data falling into the wrong hands.
Your Pre-Wipe Preparation Checklist
Rushing to hit the erase button without a plan is a mistake I’ve seen people make too many times. Before you completely wipe an iPhone, a few careful steps are non-negotiable. They’ll protect your data and make sure the phone is ready for its next life, whether you're selling it or just after a clean slate.
Think of it as your digital safety net. The single most important job is getting a full, current backup. Skip this, and once you wipe the phone, all those photos, contacts, and messages are gone for good.
Comparing iPhone Backup Methods
You've got two solid options for backing up your iPhone: backing up to iCloud or connecting it to a computer. Neither is right or wrong, but they serve different needs.
To help you decide which route is best for you, here’s a quick comparison of what each method offers before you perform the final wipe.
Ultimately, iCloud is fantastic for everyday, automated peace of mind. But if you’re about to completely wipe your phone, I always recommend a final, manual backup to a computer. It just gives you that extra layer of security knowing everything is safely stored offline.
This infographic breaks down the essential prep work.
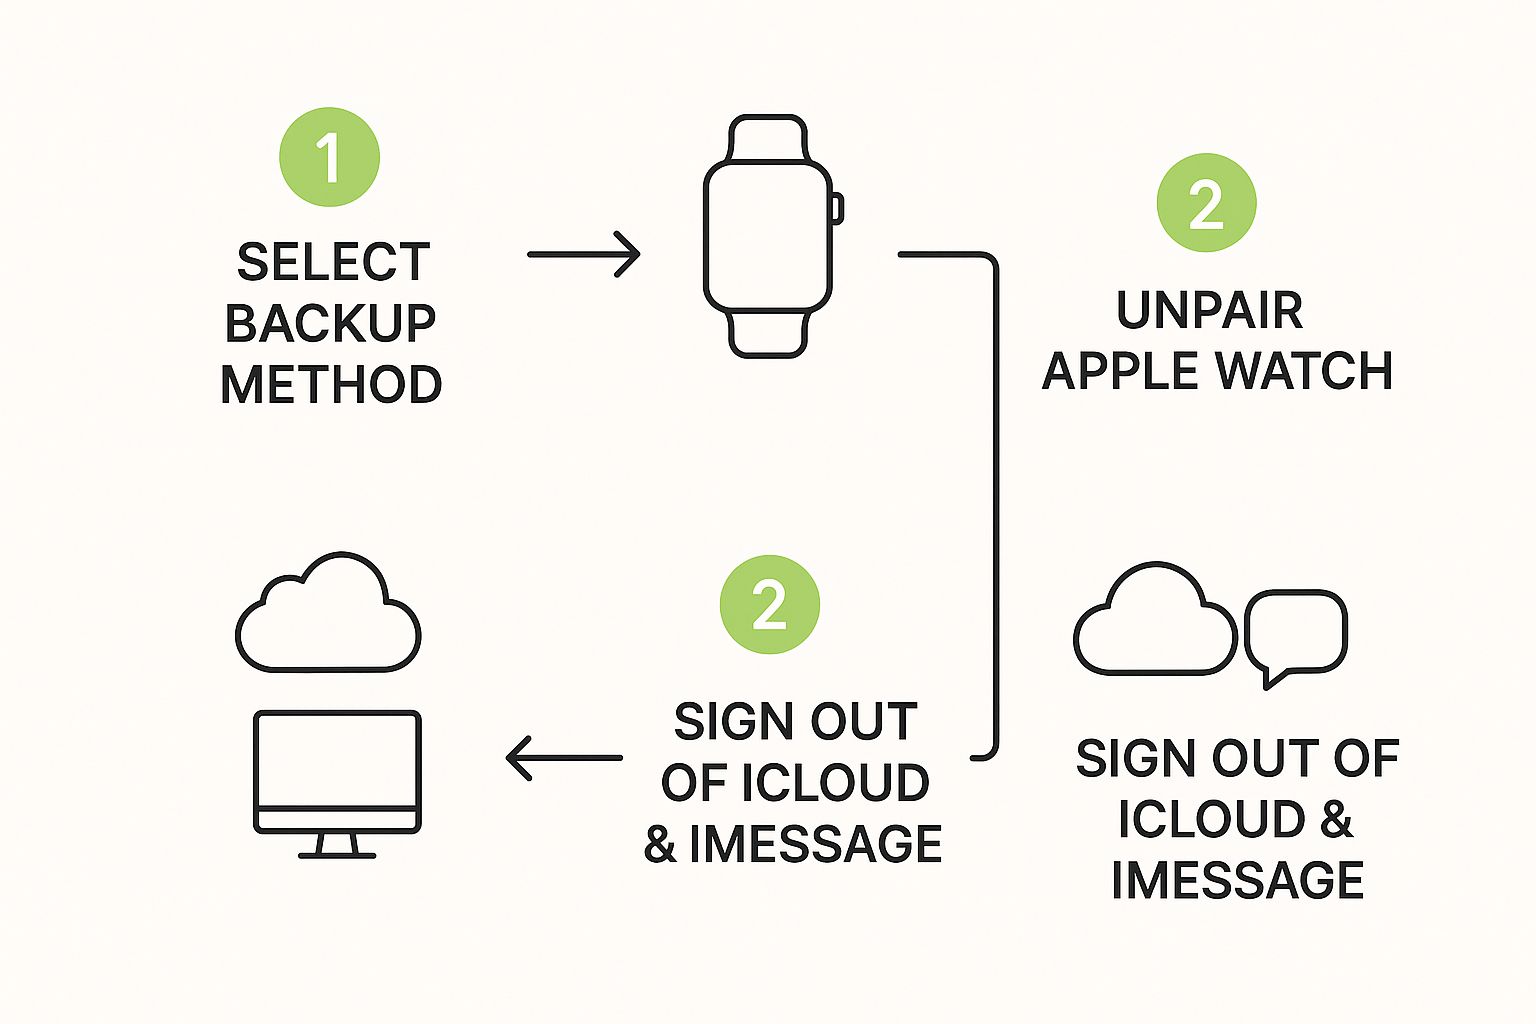
As you can see, getting your data backed up is the first domino to fall. After that, it’s all about untangling your accounts and accessories from the device.
Unpair Your Apple Watch and Sign Out of Everything
With your backup safely tucked away, there are a couple of final bits of digital housekeeping to take care of.
If you use an Apple Watch, you need to unpair it from your iPhone first. Don't worry, this process is smart – it automatically creates a fresh backup of your Watch and then severs the connection.
Next, and this is the big one, you need to sign out of your Apple ID. Head into your settings and sign out of iCloud. This is absolutely critical because it turns off services like iMessage and, crucially, Find My.
Disabling Find My removes the Activation Lock. This lock is an anti-theft feature that stops anyone else from using your device. If you're selling the phone, you must turn this off, otherwise the new owner will be left with a very expensive paperweight.
It's clear that UK users are getting savvier about this process, often turning to video guides to walk them through the steps of backing up, transferring, and securely erasing their data. You can see a great example to learn more about the factory reset process and get a feel for how it works.
How to Turn Off Find My and Sign Out of iCloud
Once your data is safely backed up, it’s time for what I consider the single most critical step before you sell or give away your iPhone. If you forget to sign out of your Apple ID correctly, the phone stays locked to you through a powerful anti-theft feature called Activation Lock.
Trust me, you don’t want to be that person. Forgetting this step essentially turns a perfectly good iPhone into a very expensive paperweight for the new owner, as it will remain tied to your account forever. Let's make sure that doesn't happen.
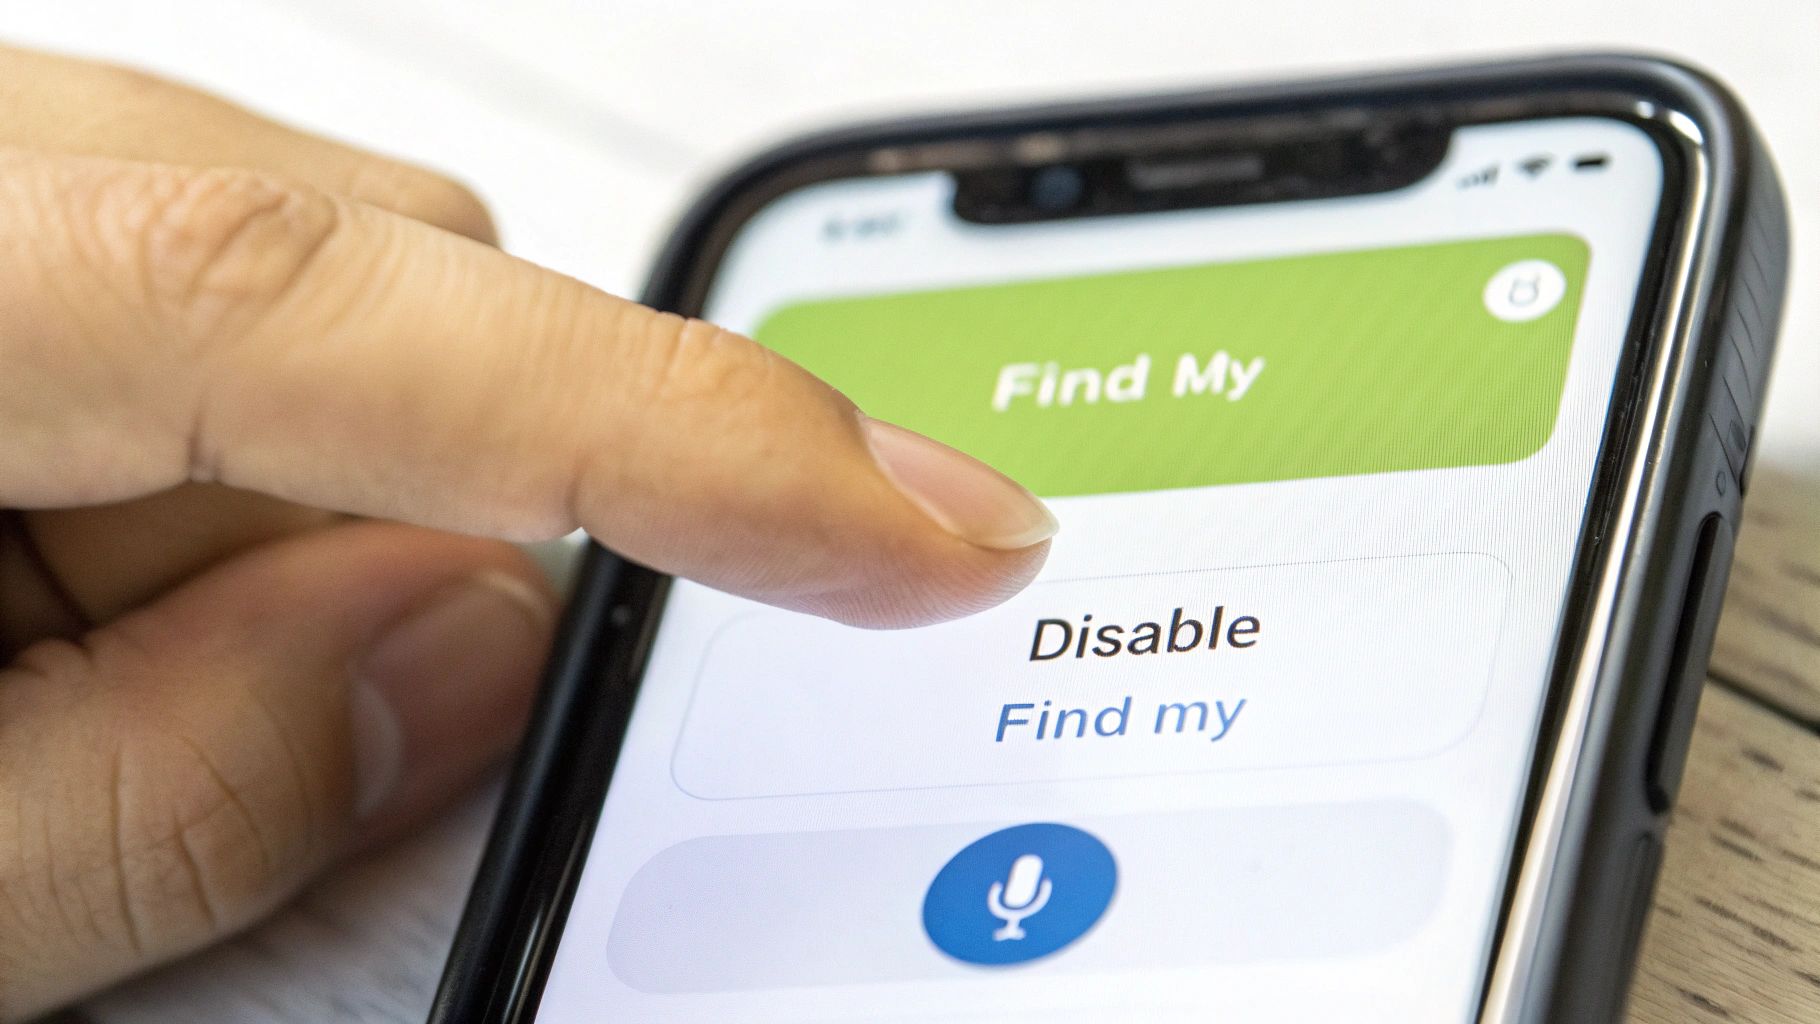
Deactivating Find My
First up, you need to switch off the "Find My" service. This is the key that unlocks the device from your personal account and disables Activation Lock. It’s quick and simple.
- Jump into the Settings app on your iPhone.
- Tap your name right at the top to get into your Apple ID settings.
- Select Find My from the list of options.
- Now, tap Find My iPhone and toggle the switch to the off position.
Your iPhone will then ask for your Apple ID password. This is just a security check to make sure it’s really you. Pop in your password, confirm your choice, and Activation Lock is officially gone.
Here's a solid rule of thumb I always follow: before wiping the phone, check the Find My app on another one of your Apple devices. If the iPhone you're selling still shows up, Activation Lock is still on. Always double-check this before you hand it over.
Signing Out of iCloud and Apple ID
With Find My disabled, you're clear to sign out of your account completely. This is what severs the final link between all your personal data and the physical device itself.
Go back to the main Settings screen and tap your name at the top again. Scroll all the way to the bottom of this page, and you can't miss the red Sign Out button. Go ahead and tap it.
The phone might ask if you want to keep a copy of things like your contacts or calendars on the device. Since the whole point is to wipe it clean for someone else, you don't want to keep anything. The sign-out process will take a moment as it removes all your iCloud data from the iPhone, which is exactly what you need before the final factory reset.
Wiping Your iPhone Clean: The Final Factory Reset
Right, with all your accounts signed out, it’s time for the main event. This is the last, irreversible step that completely erases your iPhone, making sure not a single bit of your personal data is left behind. It sounds dramatic, but Apple has actually made it a very simple process.
What you're about to do is more than just deleting your photos and messages. It’s like shredding the documents in a safe and then melting down the only key. By destroying the encryption key that protects your data, everything on the device becomes permanently unrecoverable.
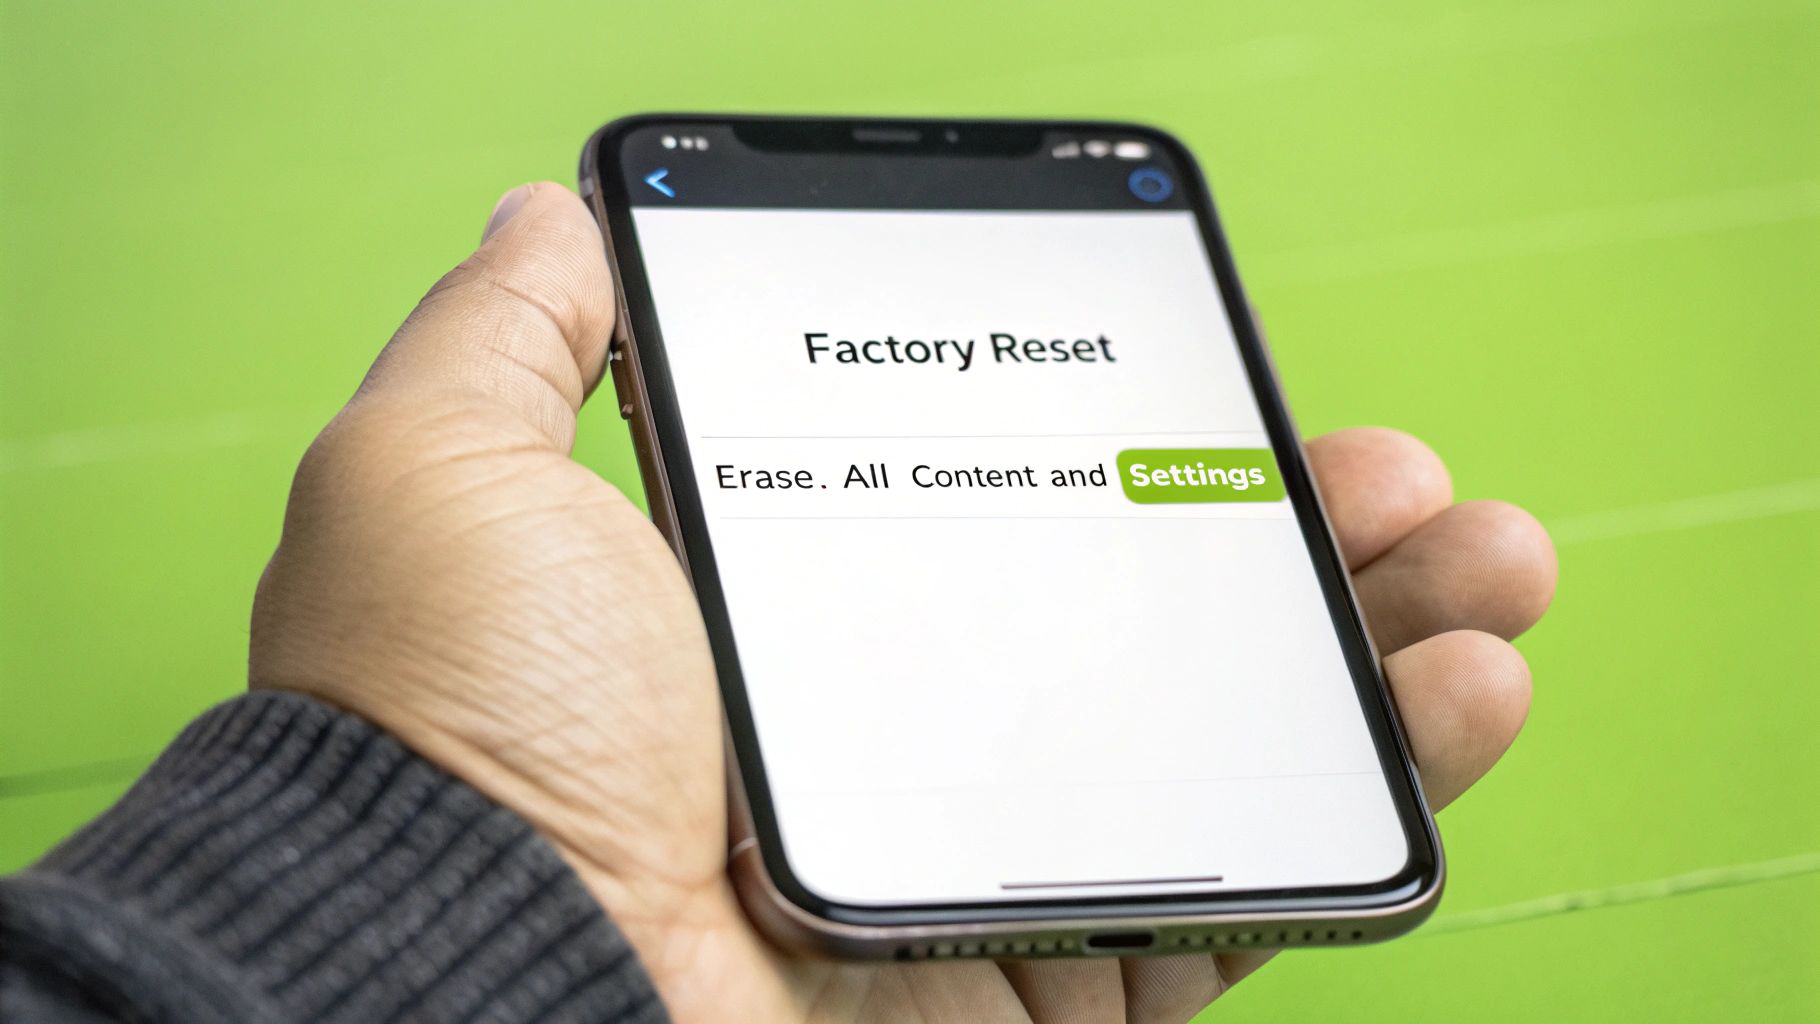
Finding the Erase Command
Finding the option you need is straightforward. The exact wording might differ slightly depending on which version of iOS you're running, but you're heading for the same destination.
Here’s where you need to go:
- Start by opening the Settings app.
- Tap on General.
- Scroll all the way to the bottom and select Transfer or Reset iPhone.
- Finally, choose Erase All Content and Settings.
Your iPhone will then show a final summary of everything that’s about to be removed. You’ll be asked for your passcode and likely your Apple ID password to confirm you really are the owner. As a guide from The Big Phone Store explains, this last step is vital because it also disables Activation Lock, returning the phone to its true factory state.
This is your final chance to turn back. Once you tap 'Erase iPhone' on that last confirmation screen, it all kicks off immediately. Double-check your backup is safe and sound before you commit.
What Happens During the Wipe
The actual erasing process is quicker than you might think, usually taking just a few minutes on newer iPhones. You’ll see the Apple logo and a progress bar as the phone gets to work. It might restart once or twice – that’s completely normal, so don't worry.
When it’s all done, the iPhone will restart one final time. The proof it's worked? You’ll be greeted by the classic "Hello" screen in various languages, just like when you first unboxed it. That’s your sign that the phone is completely anonymous and ready for its new home.
You’ve done the hard part and wiped your iPhone clean, but don't hand it over just yet. A couple of quick final checks are all that stand between you and a truly clean slate. It’s these last little details that really guarantee your data is gone for good and the device is fully disconnected from you.
First things first, physically pop out your SIM card. I know it sounds obvious, but you’d be surprised how often this tiny piece of plastic gets left behind. Your SIM is the direct link to your phone number and mobile account, so make sure it's safely in your hand before the phone goes anywhere.
Take it Off Your Trusted Devices List
This is the final, crucial step: telling your Apple ID to forget your old iPhone ever existed. It’s the digital equivalent of changing the locks, making sure the device can’t access any of your account information or receive notifications meant for you.
Here’s how to do it from another one of your Apple devices:
- Head into Settings on your Mac, iPad, or another iPhone and tap on your name at the top.
- Scroll down until you see the list of all the devices linked to your Apple ID.
- Find the iPhone you just erased, tap it, and choose the Remove from Account option.
Think of this as the final handshake. You're officially telling Apple's entire ecosystem that you no longer own that phone, which prevents any weird security hiccups or crossed wires later on. It's the ultimate confirmation that the device is no longer yours.
Common Questions About Wiping an iPhone
Even after following the steps, it's natural to have a few lingering questions. Let's tackle some of the most common queries that come up when wiping an iPhone, so you can feel completely confident that the job is done right.
Does a Factory Reset Delete Everything Permanently?
In a word, yes. When you hit that 'Erase All Content and Settings' button, your iPhone doesn’t just hide your files. It completely shreds the encryption keys that make your data readable.
Without those keys, the information on the device is effectively gone forever, at least by any standard recovery method. This is precisely why that backup you made earlier is so crucial – once you wipe the phone, there's no going back.
What if I Forgot to Sign Out of iCloud Before Wiping?
This is a surprisingly common mistake, and it can cause a real headache for the next owner. If you reset the phone but didn't sign out of your Apple ID first, the Activation Lock will likely stay active. This essentially turns the iPhone into a paperweight for anyone else.
The good news is you can fix this remotely.
- First, head to iCloud.com on a computer and log in with your Apple ID.
- Navigate to the "Find Devices" app.
- Select the iPhone you just wiped from your list of devices.
- Click "Erase iPhone". After the remote erase is complete, you'll see an option to "Remove from Account." Click it.
That final step is what severs the connection between the device and your Apple ID for good.
A secure wipe is a crucial part of managing your online presence. After securely wiping your iPhone, consider this ultimate guide to deleting your digital footprint for complete online privacy across all platforms.
How Long Does the Wipe Actually Take?
You might be expecting a long, drawn-out process, but it’s remarkably fast. On most modern iPhones, the actual erasure takes just a couple of minutes. The phone will then reboot to the fresh "Hello" screen, which is your confirmation that everything is gone.
Do I Really Need to Remove My SIM Card?
Yes, you absolutely do. Your SIM card is the key to your phone number and your account with your mobile provider. Leaving it in could mean the new owner accidentally (or intentionally) runs up charges on your bill. Always pop it out with a SIM tool or paperclip and keep it somewhere safe.
Ready to sell your newly wiped iPhone for a great price? At EXE, we offer instant cash for your old tech, with a price guarantee that beats major competitors. We provide a fast, secure, and fully data-wiped buyback service. Visit us online at https://www.exe.co.uk to get your free, no-obligation quote today.


